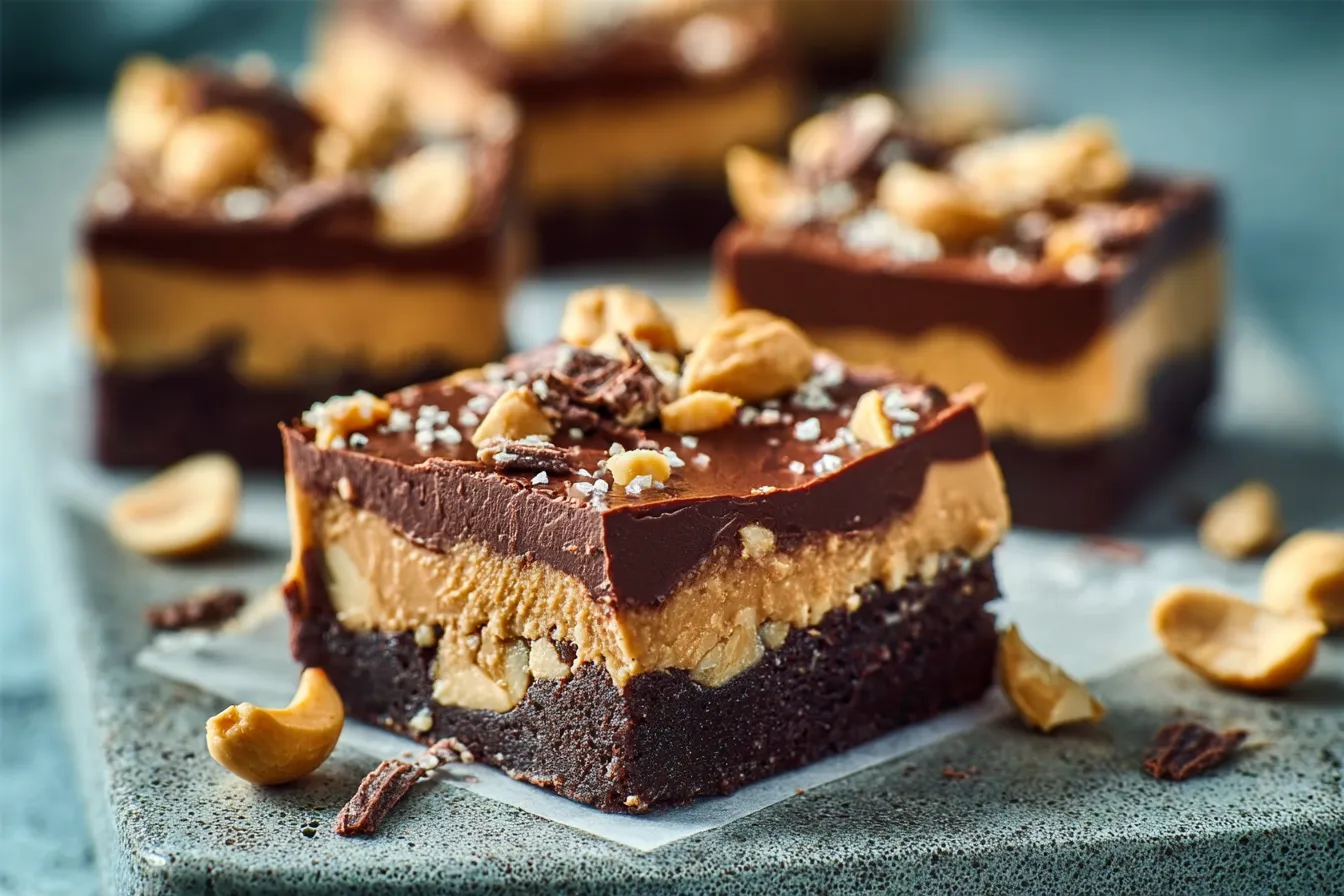
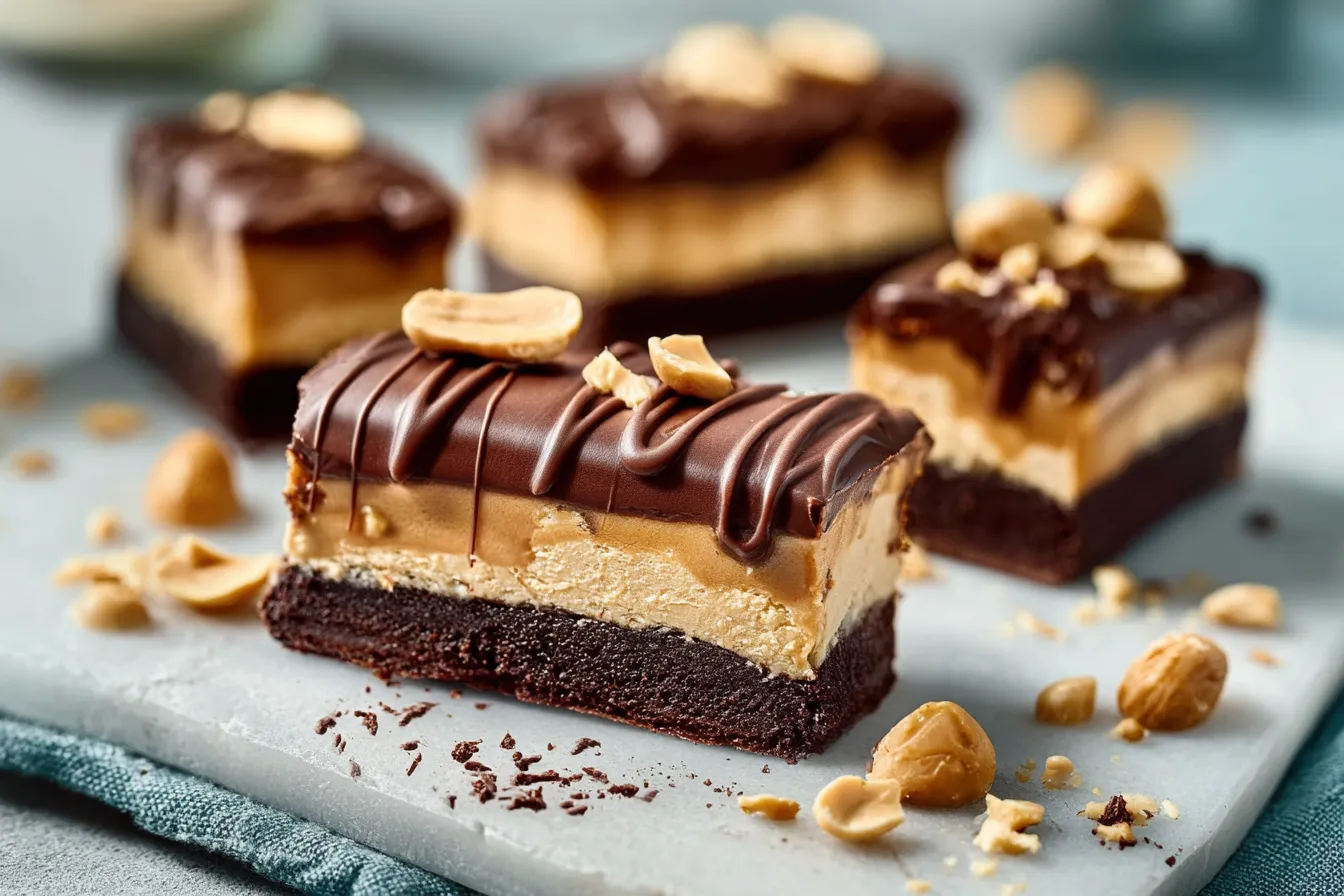
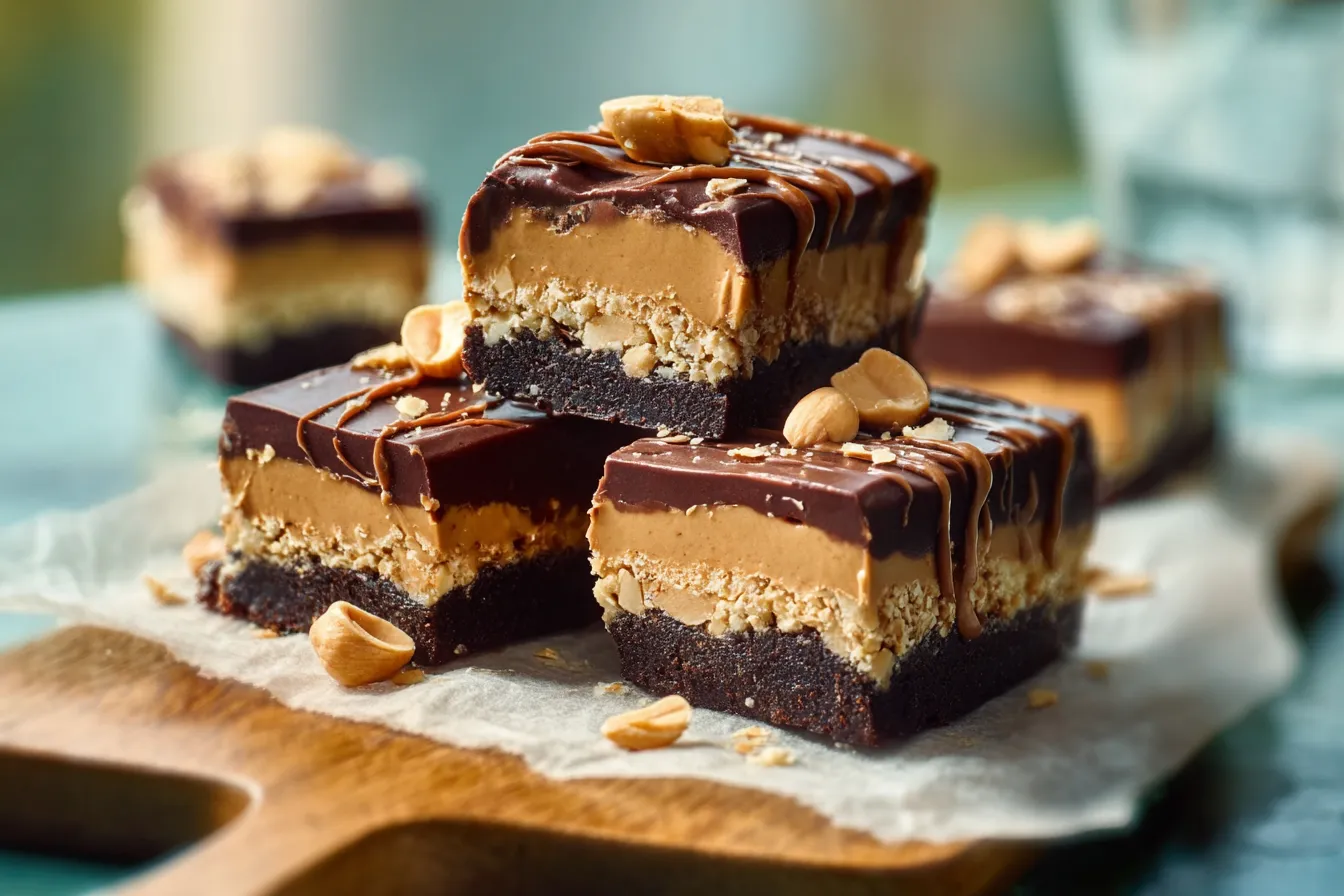
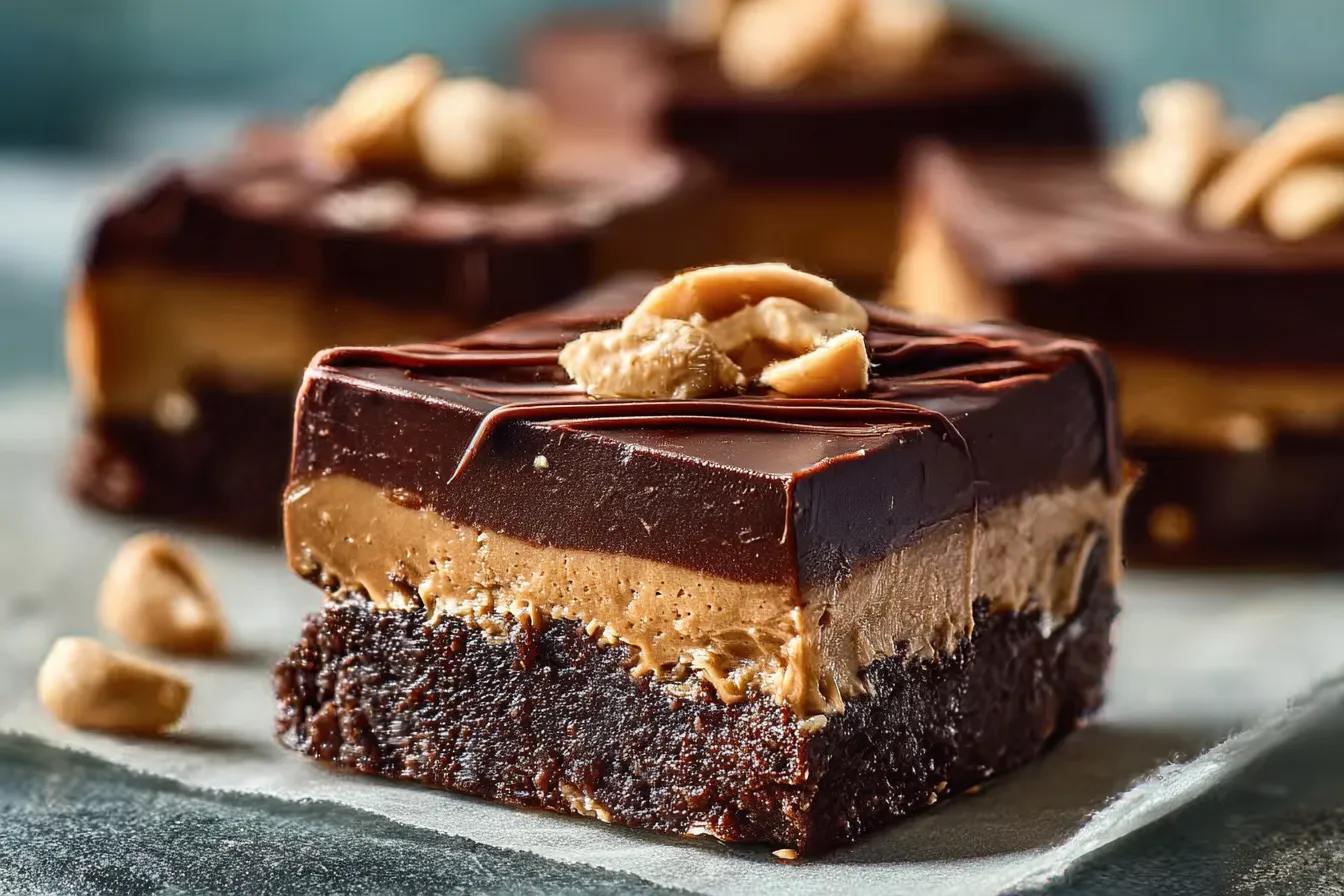
Irresistible Chocolate Peanut Butter No-Bake Bars Recipe
Introduction
Have you ever wondered how you can indulge in a decadent dessert without the hassle of baking? The Chocolate Peanut Butter No-Bake Bars might just be your answer! With a no-bake recipe that’s both satisfying and easy to make, you can enjoy a sweet treat in under 30 minutes. This delicious combination of rich chocolate and creamy peanut butter is a crowd-pleaser, making it perfect for gatherings, snacks, or a simple at-home delight. Let’s dive into the recipe that will transform your dessert experience!
Ingredients List
To create these delightful bars, you will need the following ingredients:
- 1 cup rolled oats – for a wholesome base
- 1 cup peanut butter (creamy or crunchy) – the star of the show that adds richness
- 1/2 cup honey or maple syrup – to naturally sweeten
- 1/2 cup cocoa powder – for that dark, chocolatey flavor
- 1/2 teaspoon vanilla extract – to elevate the flavor profile
- 1/4 teaspoon salt – to balance sweetness
- 1/2 cup chocolate chips (optional) – for an extra chocolatey bite
Substitution Tips:
- Peanut Butter: Almond or sun butter can be used for nut-free options.
- Honey: Agave nectar or maple syrup provide excellent vegan alternatives.
- Cocoa Powder: Dutch-process cocoa can be an option for a smoother flavor.
Timing
The entire process for these Chocolate Peanut Butter No-Bake Bars requires only about 20 minutes of preparation and chilling time. This is significantly quicker than many baking recipes that can take upwards of 90 minutes. With minimal waiting and hands-on time, you’ll have a delicious dessert ready to indulge in soon!
Step-by-Step Instructions
Step 1: Mix the Base
In a large mixing bowl, combine the rolled oats, peanut butter, and honey (or maple syrup). Use a spatula or your hands to mix until well combined. Make sure every oat is coated with the sticky mixture.
Step 2: Add Cocoa and Flavor
Stir in the cocoa powder, vanilla extract, and salt. The mixture will have a rich chocolatey scent as you blend these ingredients. If desired, fold in the chocolate chips for added texture and sweetness.
Step 3: Shape the Mixture
Line an 8×8 inch baking dish with parchment paper. Press the mixture firmly into the dish using your hands or a spatula. The more compact the mixture, the firmer your bars will be. Spread evenly to ensure consistent texture when sliced.
Step 4: Chill the Bars
Refrigerate the dish for at least 30 minutes to allow the bars to set. This step is crucial for giving the bars their structure. While waiting, grab a cold drink and relax!
Step 5: Slice and Serve
Once chilled, remove the mixture from the dish using the edges of the parchment paper. Place on a cutting board and slice into bars or squares, depending on your preference. Enjoy immediately or store for later!
Nutritional Information
Each bar is not just a treat; it’s packed with nutrients to fuel your day. Here’s a breakdown of the approximate nutrition per bar if you create 12 bars:
- Calories: 150
- Protein: 5 grams
- Carbohydrates: 18 grams
- Fat: 7 grams
- Sugar: 6 grams
- Fiber: 2 grams
The energy density of these bars, rich in healthy fats and proteins, provides a guilt-free way to satisfy your sweet tooth! Remember, the inclusion of nut butters and oats contributes to their nutritional benefits.
Healthier Alternatives for the Recipe
While the original recipe is already a healthier indulgence, you can make it even better with some easy swaps:
- Protein Powders: Add a scoop of your favorite protein powder to give an extra boost!
- Low-Sugar Sweeteners: Stevia or erythritol can replace honey or maple syrup for lower calorie options.
- Fruit Additions: Incorporate mashed bananas or chopped nuts to enhance flavor and texture.
These modifications allow you to adjust the recipe to fit various dietary preferences without sacrificing taste.
Serving Suggestions
These bars are versatile when it comes to serving. Here are some creative ideas:
- Serve as an afternoon snack alongside a cup of herbal tea or coffee.
- Pair with a scoop of low-fat yogurt for a breakfast option that combines protein and indulgence.
- Top with slices of banana or a drizzle of dark chocolate for an elegant dessert presentation.
Feel free to experiment with your personal touches! If you have guests, these bars can be arranged on a platter as a charming shareable dessert.
Common Mistakes to Avoid
Even though this no-bake recipe is straightforward, here are some common pitfalls to watch for:
- Not pressing the mixture enough: Ensure to compact the base properly; otherwise, your bars may crumble.
- Using too much sweetener: Since the bars will naturally be sweet, excessive sweetener can lead to overly sugary bars.
- Skipping the chill time: If you don’t let the bars set in the fridge, they won’t hold together well when sliced.
Avoiding these mistakes will ensure you end up with deliciously perfect bars every time!
Storing Tips for the Recipe
To keep these bars fresh and tasty:
- Store in an airtight container in the refrigerator for up to one week. They can also last in the freezer for up to three months!
- Consider cutting them into individual servings and wrap each piece so they are easy to grab and go.
- Before serving from the fridge, let the bars sit for a few minutes at room temperature for improved texture.
This will maintain their flavor while providing the ultimate convenience for quick snacks!
Conclusion
Chocolate Peanut Butter No-Bake Bars are a simple yet delightful treat that combines flavor and nutrition seamlessly. The best part? You can whip them up in no time! Try this recipe today, and be sure to share your feedback in the comments or leave a rating. Subscribe for more exciting recipes and updates!
FAQs
A: Can I use crunchy peanut butter instead of creamy?
Absolutely! Crunchy peanut butter adds delightful texture to your bars, enhancing the eating experience. Feel free to choose your favorite.
B: How can I make these bars vegan?
To make these bars vegan, use maple syrup as a sweetener and opt for dark chocolate chips that are dairy-free. Both ingredients are naturally vegan!
C: What if I’m allergic to peanuts?
You can easily replace peanut butter with almond butter, cashew butter, or sunflower seed butter. Each will provide a different flavor profile while being safe for those with peanut allergies.
D: Can I add protein powder to this recipe?
Yes! Adding a scoop of your favorite protein powder will enhance the nutritional value of these bars without compromising the taste.
E: How do I know when the bars are ready to eat?
The bars will be ready to eat when they are firm to the touch after chilling in the refrigerator. They should hold together well when sliced.
Print
Irresistible Chocolate Peanut Butter NoBake Bars Recipe
- Total Time: 30 minutes
- Yield: 12 bars 1x
Description
Indulge in these nobake chocolate peanut butter bars that are easy to make satisfying ampampamp039perfect for any sweet craving Enjoy the treat
Ingredients
Instructions
Notes
A delicious no-bake dessert combining rich chocolate and creamy peanut butter, perfect for any occasion.
- Prep Time: 20 minutes
- Category: Dessert
- Cuisine: American
Nutrition
- Serving Size: 12 bars
- Calories: 150
- Sugar: 6 grams
- Fat: 7 grams
- Carbohydrates: 18 grams
- Fiber: 2 grams
- Protein: 5 grams