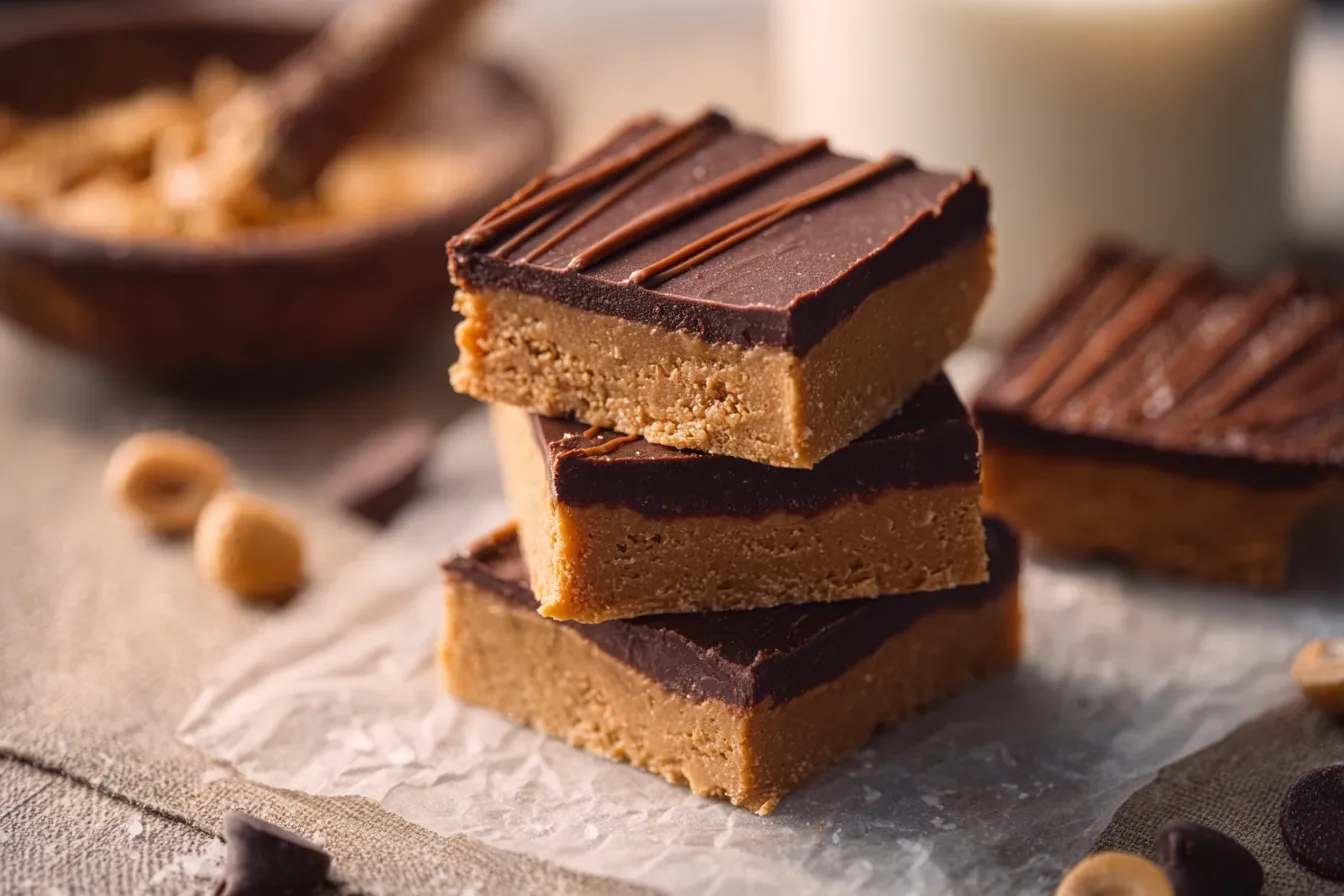
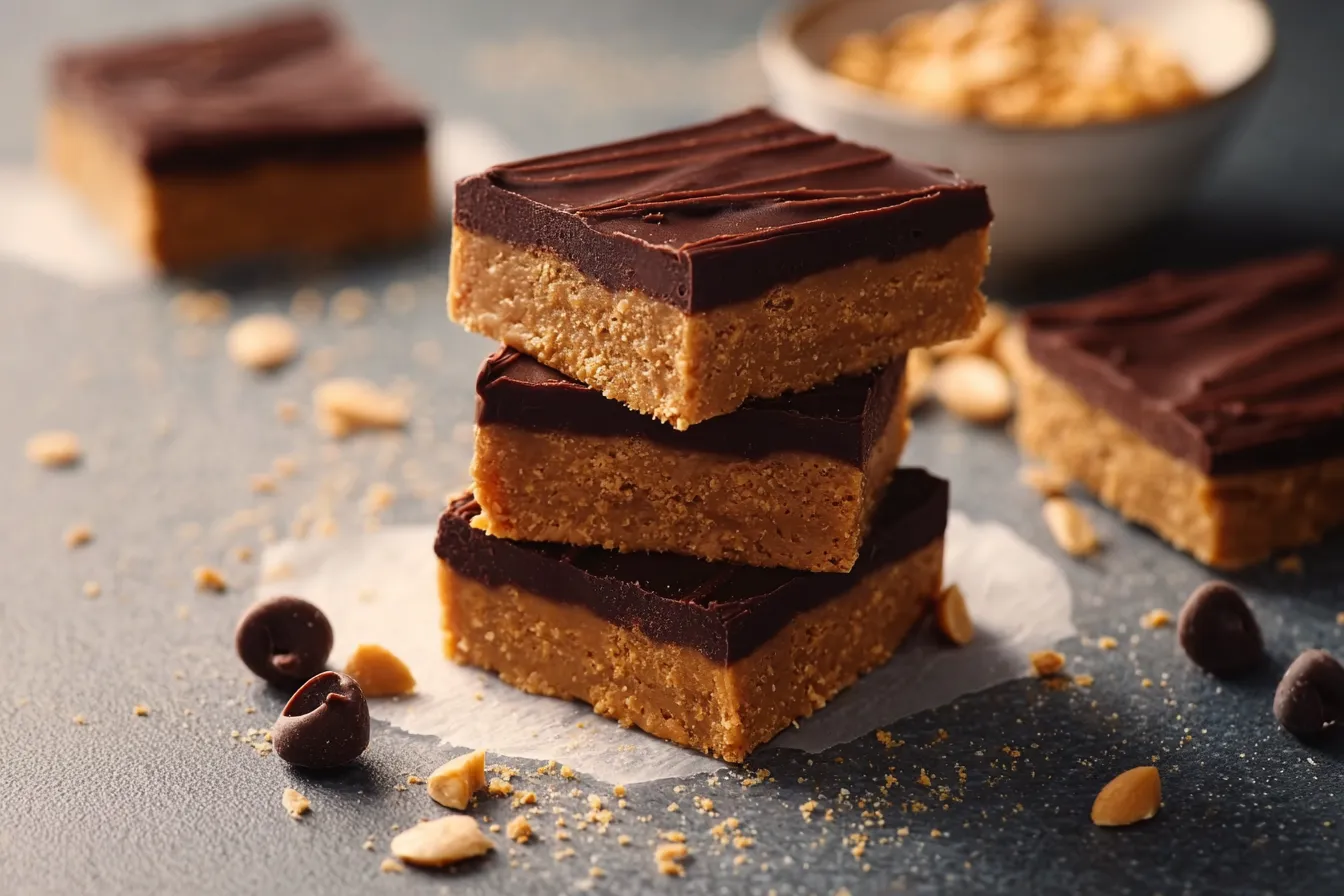
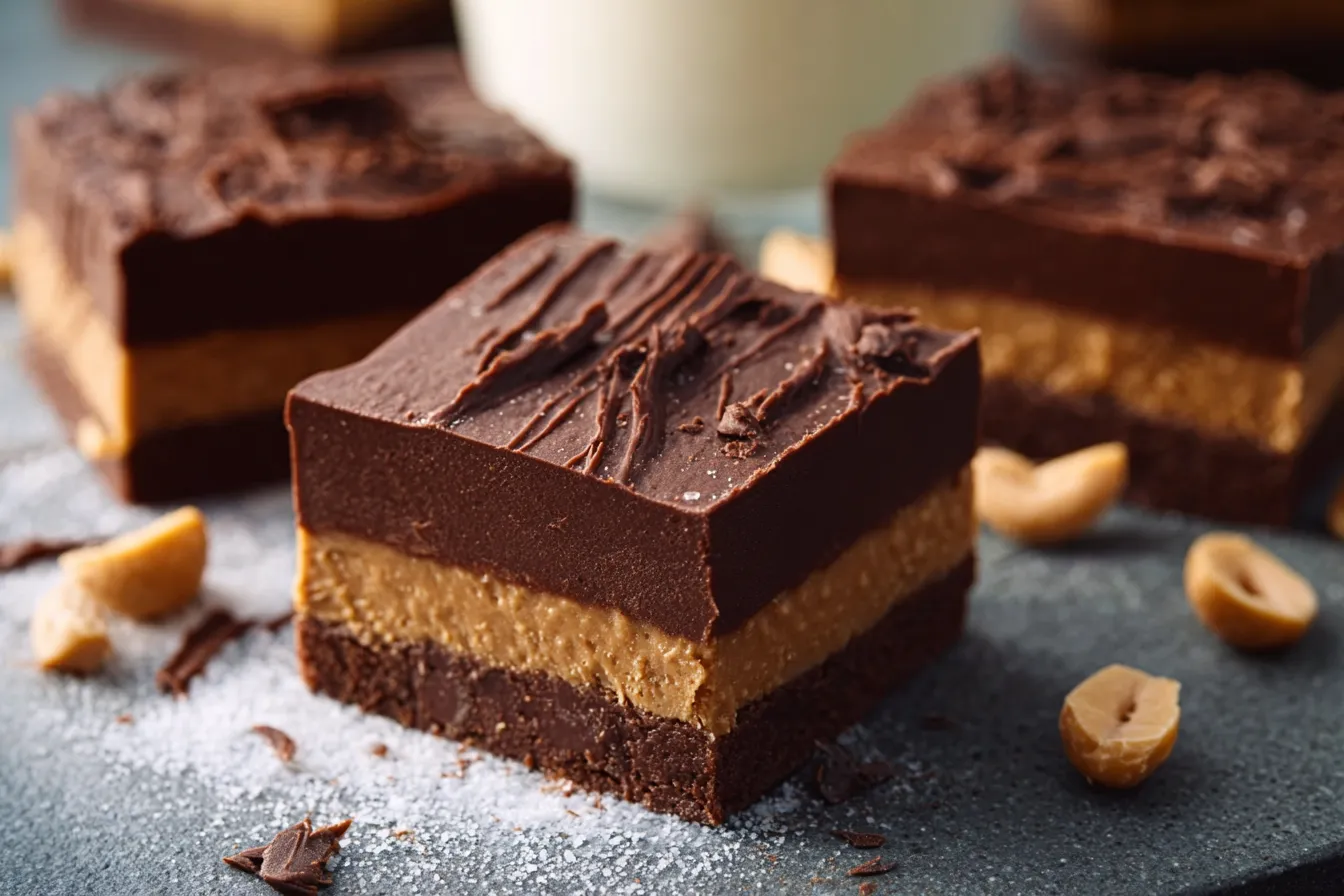
Irresistible Chocolate Peanut Butter No-Bake Bars Recipe
Introduction
Have you ever craved a delectable snack that not only satisfies your sweet tooth but also packs a nutritional punch? Chocolate Peanut Butter No-Bake Bars might be the answer! With a perfect balance of rich chocolate and creamy peanut butter, these bars offer a delightful indulgence that challenges the common belief that healthy treats can’t be delicious. In fact, studies show that incorporating small treats into your diet can actually promote better eating habits by reducing cravings. Ready to dive into this mouth-watering recipe?
Ingredients List
Gather these simple yet vibrant ingredients to create your Chocolate Peanut Butter No-Bake Bars. Each component contributes to the luscious flavor and texture:
- 1 cup natural peanut butter (or almond butter for a nut-free option)
- 1/2 cup honey (maple syrup works as a vegan substitute)
- 2 cups rolled oats
- 1/2 cup cocoa powder
- 1/4 teaspoon salt
- 1 cup dark chocolate chips (choose dairy-free for a vegan version)
Feel free to mix and match these ingredients based on your preferences—even adding chia seeds or protein powder could enhance the nutrient profile!
Timing
One of the best parts about this no-bake recipe is its swift preparation! Here’s the timeline:
- Preparation Time: 10 minutes
- Refrigeration Time: 30 minutes
- Total Time: 40 minutes
That’s 20% less time than the average dessert recipe, making it an ideal choice for busy weeknights or last-minute gatherings!
Step 1: Prepare Your Pan
Start by lining an 8×8-inch baking pan with parchment paper, leaving some overhang for easier removal later. This method ensures that your bars won’t stick and will come out beautifully shaped.
Step 2: Melt Peanut Butter and Honey
In a microwave-safe bowl, combine the peanut butter and honey. Microwave for 30 seconds, stir, then heat for another 15 seconds if needed, until fully melted and smooth. This creates a luxurious texture and enhances the flavor!
Step 3: Mix in Dry Ingredients
Once your peanut butter mixture cools slightly, fold in the rolled oats, cocoa powder, and salt. Mix vigorously until everything is well incorporated. The texture should be sticky yet cohesive, perfect for forming bars!
Step 4: Stir in Chocolate Chips
Add in the dark chocolate chips and mix until they’re evenly distributed. This step makes the bars even more irresistible. You can opt for different types of chocolate to match your taste!
Step 5: Press into Pan
Transfer the mixture to the prepared pan. Using a spatula or your hands (damp hands help), press the mixture firmly and evenly into the pan. This step is crucial in achieving dense, chewy bars.
Step 6: Refrigerate
Cover the pan with plastic wrap and refrigerate for at least 30 minutes, allowing the bars to set. You can also make them a day ahead—great for meal prepping!
Step 7: Cut and Serve
Once set, lift the bars out using the parchment overhang and cut them into squares or rectangles. Enjoy these delicious bars by themselves, or serve them with fresh fruit for a balanced snack!
Nutritional Information
Let’s break down why these Chocolate Peanut Butter No-Bake Bars are not only tasty but also a smart choice for your diet!
- Calories per bar (based on a 16-bar yield): Approximately 180
- Protein: 6g
- Carbohydrates: 19g
- Fiber: 3g
- Sugar: 7g
- Fat: 9g
This balance of nutrients makes them a perfect grab-and-go option that helps sustain energy without the dreaded sugar crash!
Healthier Alternatives for the Recipe
While these bars are already a healthier indulgence, consider these modifications for an even more nutritious twist:
- Switch out regular peanut butter for powdered peanut butter to lower calories and fat.
- Use organic honey or agave syrup to control added sugars.
- Incorporate a scoop of protein powder for a post-workout boost.
- Add flaxseeds or pumpkin seeds for added crunch and omega-3 fatty acids.
These swaps allow you to personalize the bars based on dietary preferences or health goals.
Serving Suggestions
How you present these bars can make them even more enticing! Here are a few serving ideas:
- Drizzle with melted dark chocolate for an extra layer of richness.
- Serve alongside a scoop of vanilla Greek yogurt and berries for a refreshing dessert.
- Enjoy with a warm cup of coffee or tea for an afternoon pick-me-up.
These versatile bars can shine on any occasion—be it a lunch box treat or a post-dinner snack!
Common Mistakes to Avoid
To ensure your bars turn out perfect every time, be mindful of these common pitfalls:
- Inadequate Mixing: Ensure all ingredients are thoroughly combined. Otherwise, some bars may crumble.
- Not Packing Firmly: If the mixture isn’t pressed down tightly, the bars will fall apart. Give it a good, firm press!
- Skipping Refrigeration: Don’t skip the refrigeration step—this is crucial for proper setting.
By avoiding these mistakes, you can enjoy a perfect batch of no-bake bars every time!
Storing Tips for the Recipe
To maintain the freshness and flavor of your Chocolate Peanut Butter No-Bake Bars, follow these storage tips:
- Store bars in an airtight container in the refrigerator for up to one week.
- You can also freeze the bars for extended storage—but wrap each one tightly in plastic wrap or parchment paper to avoid freezer burn.
- For optimal enjoyment, allow frozen bars to thaw in the refrigerator before serving.
Conclusion
In summary, Chocolate Peanut Butter No-Bake Bars are a delightful treat that combines taste with nutrition. These bars are quick to prepare and can be tailored for various dietary needs. Give this easy recipe a try, share your thoughts in the review section, or leave a comment below. Don’t forget to subscribe for more delicious recipes and tips!
FAQs
A: Can I use a different type of nut butter?
Yes! Almond butter, cashew butter, or sunflower seed butter work well as alternatives. Just be aware that it may alter the final flavor slightly, but it will still be delicious!
B: How do I know when the bars are set?
The bars are ready when they are firm to the touch and hold their shape when you remove them from the pan. A refrigeration time of at least 30 minutes typically does the trick.
C: Can I customize the mix-ins?
Absolutely! Feel free to add dried fruits, nuts, or seeds to the mixture before pressing it into the pan for added texture and flavor.
D: Are these bars gluten-free?
If you use gluten-free rolled oats, these bars can easily be made gluten-free! Just ensure that all your ingredients are certified gluten-free.
E: How can I make these bars vegan?
To make these bars vegan, substitute honey with maple syrup and use dairy-free chocolate chips. All other ingredients are naturally vegan!
Print
Irresistible Chocolate Peanut Butter NoBake Bars Recipe
- Total Time: 40 minutes
- Yield: 16 bars 1x
Description
Satisfy cravings with these nobake bars made of chocolate peanut butter amp delicious layers Quick easy amp perfect for a sweet treat anytime
Ingredients
Instructions
Notes
Chocolate Peanut Butter No-Bake Bars are a delightful treat that combines rich chocolate and creamy peanut butter, perfect for satisfying a sweet tooth while providing nutritional benefits.
- Prep Time: 10 minutes
- Category: Snack
- Cuisine: American
Nutrition
- Serving Size: 16 bars
- Calories: 180
- Sugar: 7g
- Fat: 9g
- Carbohydrates: 19g
- Fiber: 3g
- Protein: 6g