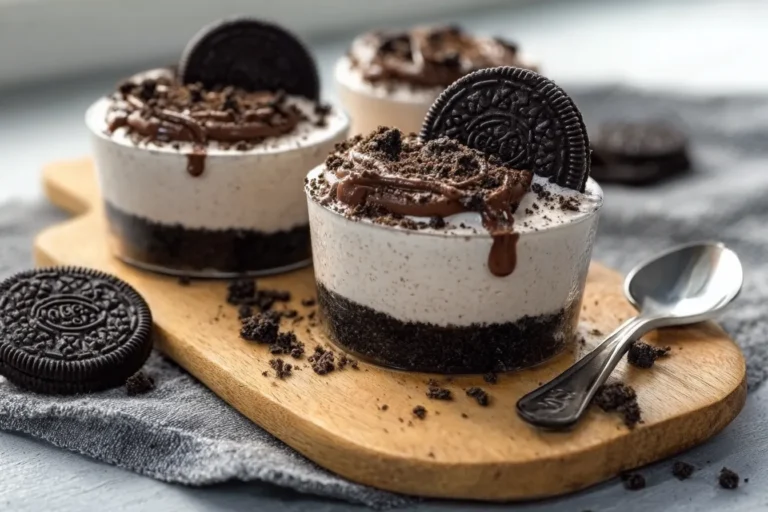
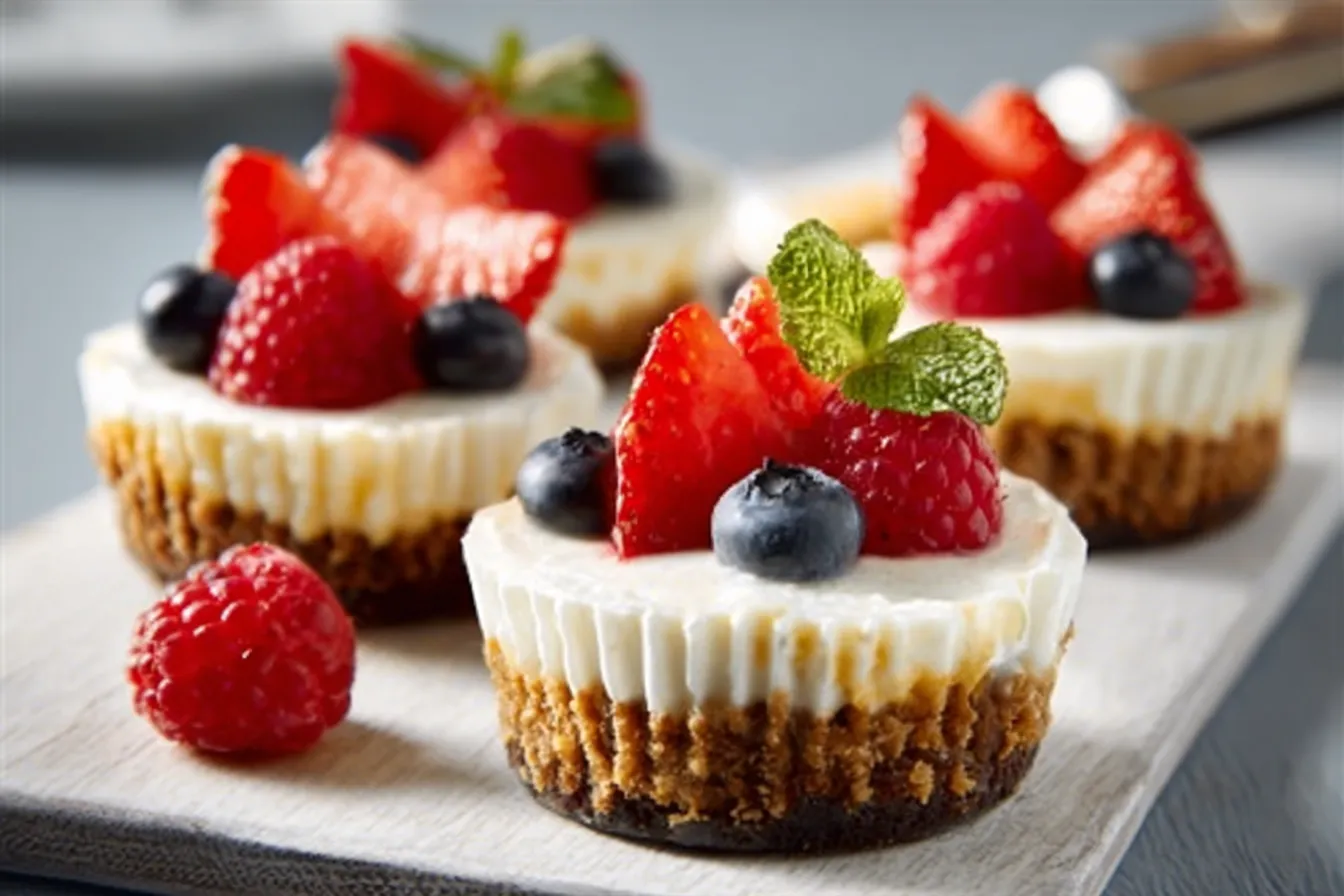
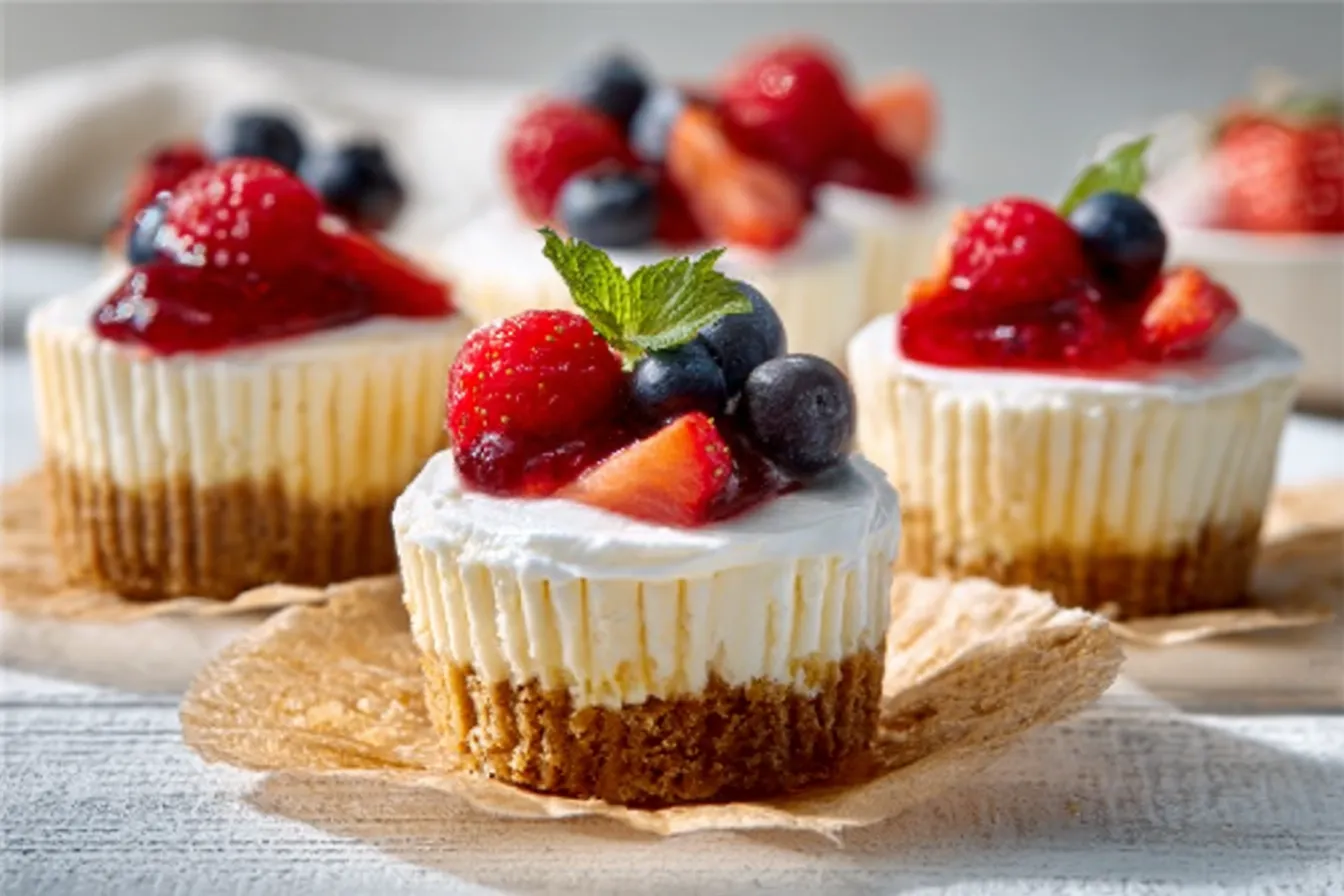
Irresistible Mini Cheesecake Dessert Cups (No Oven Required)
Introduction
Have you ever craved a delicious dessert but dreaded turning on the oven? What if I told you that you could whip up delightful Mini Cheesecake Dessert Cups without ever preheating? With over 300 million people in the U.S. indulging in cheesecakes each year, it’s clear that this classic dessert has stolen hearts everywhere. These mini cups are a game-changer for busy lives, offering a rich, creamy texture and bursting flavor without the hassle of baking. Get ready to discover how simple and satisfying these no-oven cheesecake cups can be!
Ingredients List
- For the crust:
- 1 cup graham cracker crumbs (or digestive biscuits for a British twist)
- 1/3 cup granulated sugar
- 1/2 cup unsalted butter, melted (alternative: coconut oil for a dairy-free option)
- For the cheesecake filling:
- 8 oz cream cheese, softened (use cashew cream for a vegan option)
- 1/2 cup powdered sugar
- 1 tsp vanilla extract
- 1 cup heavy whipping cream (substitute with coconut cream for dairy-free)
- For the topping:
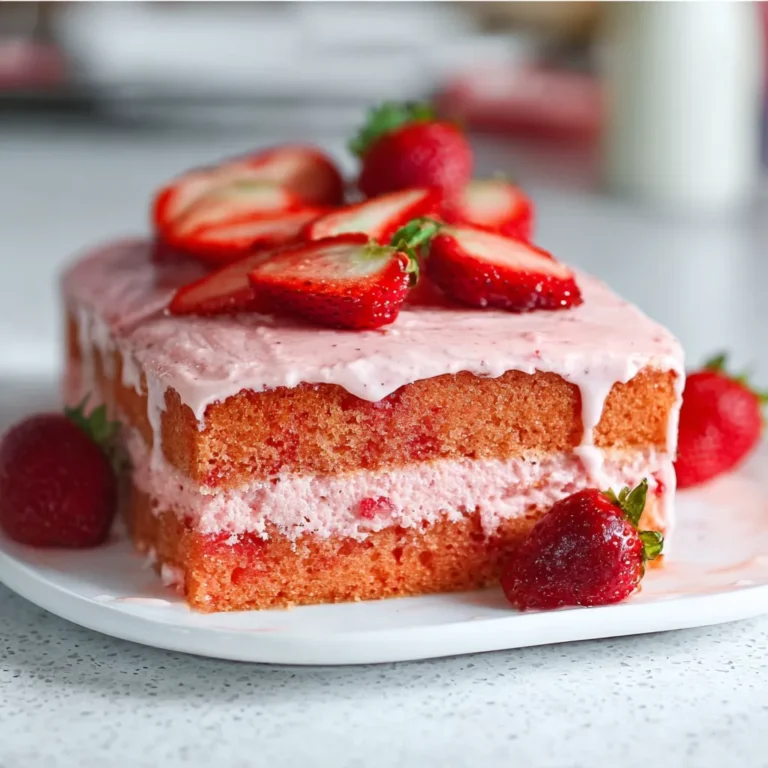
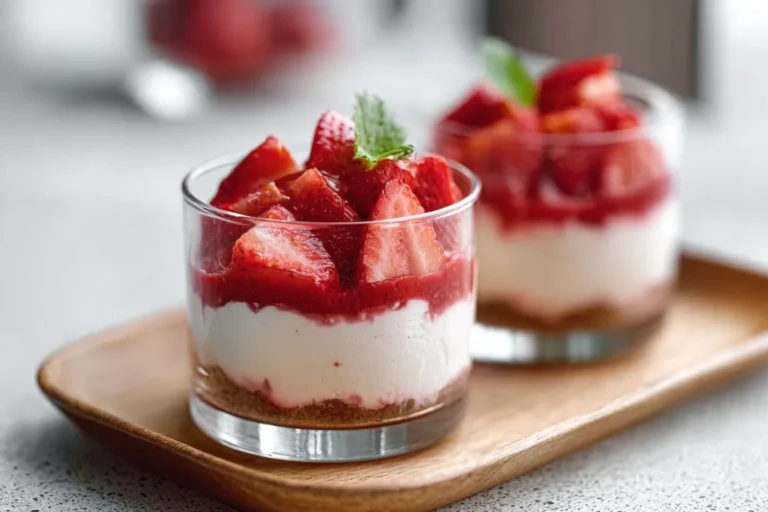
- Fresh fruits like strawberries, blueberries, or raspberries
- Chocolate shavings or caramel drizzle for an indulgent finish
Timing
This recipe is not only easy but also quick! You’ll spend about 20 minutes on preparation, which is 40% less time than traditional cheesecake recipes that require baking. With chilling time included, the total time will be approximately 90 minutes. Perfect for a last-minute dessert!
Step-by-Step Instructions
Step 1: Prepare the Crust
In a medium bowl, mix together graham cracker crumbs, granulated sugar, and melted butter until the mixture resembles wet sand. Press this mixture evenly into the bottom of six dessert cups, ensuring it’s compact. This crust serves as the blissful foundation for the rich cheesecake filling.
Step 2: Make the Cheesecake Filling
Using an electric mixer, beat the softened cream cheese, powdered sugar, and vanilla extract together until smooth. Gradually fold in the heavy whipping cream until everything is fully incorporated and fluffy. Avoid over-mixing to keep the texture light and airy.
Step 3: Assemble the Cups
Spoon or pipe the cheesecake filling over the prepared crusts in your dessert cups. Level the tops with a spatula, making sure each one is evenly distributed. This layering not only looks lovely but also ensures every bite is creamy and delightful.
Step 4: Chill
Cover the cups with plastic wrap and place them in the refrigerator for at least an hour. This chilling period allows the cheesecake to firm up, making them easier to eat and enhancing the flavors. Consider this a well-deserved waiting game that sweetens the reward.
Step 5: Add Toppings
Just before serving, garnish your cheesecake cups with fresh fruits or a drizzle of chocolate or caramel. The addition of bright fruits will not only provide beautiful color but will also balance the richness of the cheesecake, creating a symphony of taste.

Nutritional Information
This Mini Cheesecake Dessert Cups recipe offers a delightful balance of indulgence and nutrition. Here’s a breakdown of the nutritional content per serving:
- Calories: 350
- Total Fat: 23g
- Saturated Fat: 14g
- Cholesterol: 50mg
- Sodium: 210mg
- Total Carbohydrates: 35g
- Dietary Fiber: 1g
- Total Sugars: 18g
- Protein: 4g
Healthier Alternatives for the Recipe
Looking to lighten up this delightful treat? Here are some modifications that can maintain flavor while boosting nutritional benefits:
- Use low-fat cream cheese or Greek yogurt instead of full-fat cream cheese for a lighter filling.
- Swap granulated sugar for natural sweeteners like honey or maple syrup, or use a sugar substitute like Stevia for fewer calories.
- Add a tablespoon of chia seeds or flaxseeds to the filling for extra fiber and omega-3 fatty acids.
Serving Suggestions
To elevate your Mini Cheesecake Dessert Cups further, consider these creative serving suggestions:
- Serve with a side of berry compote for added flavor.
- Top with crushed nuts for a delightful crunch.
- Create a festive display by layering different flavored cheesecake fillings in each cup.
- Pair with a cup of tea or coffee for a cozy dessert experience.
Common Mistakes to Avoid
While making these cheesecake cups is straightforward, ensure you steer clear of these common mistakes:
- Using Cold Ingredients: Ensure cream cheese is at room temperature to achieve a smooth filling without lumps.
- Overmixing: Be gentle when folding in the whipped cream to maintain a light and airy texture.
- Skipping Chilling: Don’t skip the chilling time! Skipping this step can lead to a runny consistency.
Storing Tips for the Recipe
If you find yourself with leftovers, here’s how to store them properly:
- Cover the cups tightly with plastic wrap or store them in airtight containers.
- The dessert cups can be kept in the refrigerator for up to 3 days, but for the best taste, consume them within two days.
For prepping ahead of time, assemble the crusts a day in advance and prepare the filling on the day you intend to serve.
Conclusion
In just a few simple steps, you can create indulgent Mini Cheesecake Dessert Cups without a single ounce of oven heat. Treat yourself and your guests to this delightful dessert that’s sure to impress. Be sure to try this recipe, share your feedback in the comments, and subscribe for more delicious updates!
FAQs
A: Can I make these Mini Cheesecake Dessert Cups vegan?
Absolutely! To make this recipe vegan, substitute cream cheese with cashew cream or a store-bought vegan cream cheese. Use coconut cream instead of heavy whipping cream, and replace granulated sugar with maple syrup or another vegan-friendly sweetener.
B: How can I make the crust gluten-free?
To make a gluten-free crust, simply use gluten-free graham cracker crumbs or crushed almonds for a nutty twist. Many gluten-free cookie brands also offer suitable options for the crust that you can experiment with.
C: Can I freeze the cheesecake cups?
Yes, you can freeze the assembled cheesecake cups! Ensure they are tightly covered. They can last for up to a month in the freezer. When ready to serve, thaw them in the refrigerator overnight before enjoying.
D: What can I use instead of graham crackers?
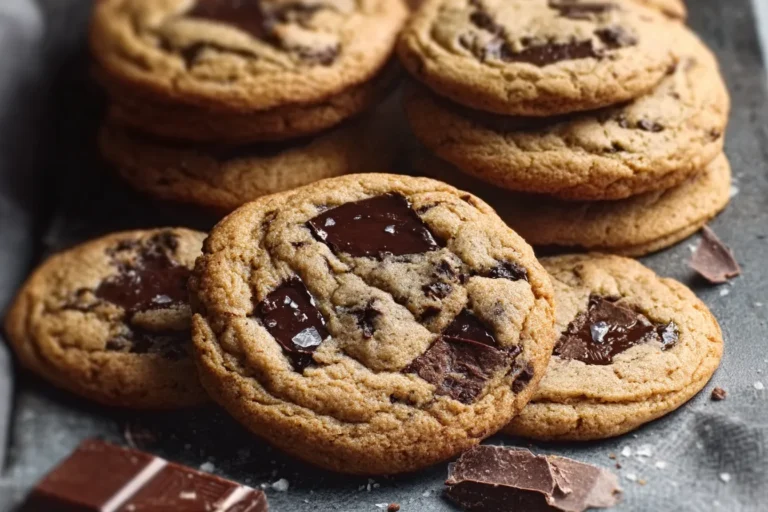
If you don’t have graham crackers, you could use crushed cookies, such as Oreos, or even oats combined with ground nuts. The recipe is versatile to fit what you have on hand!
E: How do I get rid of lumps in the filling?
Start with softened cream cheese at room temperature to prevent lumps. Mix on low speed initially and then increase to medium to ensure an ultra-smooth filling without excessive air, which could lead to cracks.
Print
Irresistible Mini Cheesecake Dessert Cups (No Oven Required)
- Total Time: 90 minutes
- Yield: 6 servings 1x
Description
Delight in these Mini Cheesecake Dessert Cups, perfect for any gathering! No oven needed for this scrumptious, easy-to-make treat. Enjoy now!
Ingredients
Instructions
Notes
Indulge in delightful Mini Cheesecake Dessert Cups that require no baking and can be prepared in just a few steps. Perfect for a quick and satisfying dessert.
- Prep Time: 20 minutes
- Category: Dessert
- Cuisine: American
Nutrition
- Serving Size: 6 servings
- Calories: 350
- Sugar: 18g
- Fat: 23g
- Carbohydrates: 35g
- Fiber: 1g
- Protein: 4g